Progress Report 9/20-26

with No Comments

In this week I explored more options for thermal imaging. None of these seemed particularly promising, many of these are either expensive, inaccurate, slow, or the range is limited. So far the thermal sensor options seem to be a “pick any two” of the following options: range, accuracy, cost. Unfortunately, because picking up the thermal signature of a small animal at a sizeable range requires a significant amount of all three, there’s either going to need to be a massive engineering breakthrough on my part, or a massive budget. The same problems persist for other parts of the camera, for example, the optics. Focusing long wave IR requires exotic materials which cost an enormous amount of money to procure individually or manufacture.


My conclusion is that thermal imaging is a field with an extremely high barrier to entry. I doubt that I have the skills or expertise to surmount the difficulties I’ve touched on, and I hope that another solution will present itself.
Spectra and Soil

with No Comments

This week I met with Mike Deibel regarding soil fertility measurements. One of the primary accepted ways to measure soil fertility is the combustion method. We don’t want to do that. Other alternatives are spectroscopy of the soil directly (requires infrared electromagnetic range) or of a soil solution after a reaction (can be done in the visible light range, but requires reagents and possibly a flow-injection system). For the munsell color test, a visible-range spectrometer that uses fiber optic cables to transmit signal could be used.

NIR spec focuses on the infrared region of the electromagnetic spectrum. Building a NIR spectrometer is tricky because a lot of things absorb infrared wavelengths and because I would have to build some sort of detector that scans through individual wavelengths very precisely. This isn’t impossible, but it isn’t trivial – so I’m still looking into it. There are a large number of DIY spectrophotometers projects out there but few of them dip very far into the IR range, precisely because it is so difficult.

There is a nice DIY solution for flow-injection analysis (a stream of reagent is merged with a stream of sample and the mixture is analyzed). [3D printed syringe pump] [Nitrate quantification]

For the munsell color test, things are a lot simpler because we only need to deal with the visible light range. Reverse-engineering a visible light spectrometer like this one is not at all an unreasonable thing to do.

The Bean arrives!

with No Comments

Last week, the bean arrived! We got four beans in the mail, which came with a ‘Maker Kit.’ The Maker Kit really just contained some headers, a buzzer, and your basic accessories. I was able to connect to all four of the Beans through my computer and my phone! It’s pretty cool that you can connect and upload code right from your phone. The ‘Bean Loader’ computer application integrates with Arduino really well. You write the code in the Arduino IDE, and just send it to the Bean through the Bean Loader. I followed this guide OSX Starting Guide to get started using the bean with my laptop. This is the guide I followed for iOS Guide for setting it up on my iPhone.

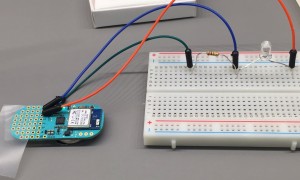
Unlike most Arduino board, the Bean has no headers already soldered in. We don’t want to solder right away. We still need to make a prototype and test that it works. So, what I did was set up a little prototyping configuration using a breadboard and some wires. You can see it below — it’s a light sensor. The LED on the Bean gets brighter as it detects more light and dimmer as it detects less light. I was able to get this running with the Bean Example Projects page.

IMG_0408

I’ve been looking through different websites like MakerShed, SparkFun, and Adafruit for different ambiance type sensors. There are many options to choose from, that have a wide range in prices. What sensors to get, we should probably decide as a group. Also, the Bean has a built-in Temperature sensor that we need to test, and perhaps we could cross that off the list of sensors to buy.

Another week, another $7USD

with No Comments

Managed to frustrate Facilities trying to sort who owned the TIC, etc. It’s now in our possession for the duration. List management related to Skalanes and the various projects there; we have a GDrive document now with questions/answers for/from Oli at Skalanes. Talked to Erin about how to do an elevation transect from the house at Skalanes to the roof of the gangplank tower at the ferry terminal to see if a ballon might be practical for doing line-of-sight between the two. Sent email to SallyS in A/D about funding sources, also considering how to approach the Dean, etc. about their recent policy change of not supporting graduating seniors. Started to re-learn Android development, how often are these people going to change their minds…

The ball starts moving!

with No Comments

Earlier this week we had a programmers meeting to decide the direction for the app such as the mechanics and architecture. While we initially will hold off on the graphic designs for the app there is still much to be done!

I’ve started researching the process states within Android and how the app will interact with the hardware of the Nexus. So far the developer webpage has been most beneficial in understanding the way that processes work by default and how to tweak that to individual needs. I also found a very valuable system service called prostats that allows you to see how RAM is being allocated and gives you to the tools to analyze it for specific features.

Thermal Camera and the Internet Issue

with No Comments

We finally have our hands on the Fluke thermal imaging camera! It is very exciting because we can start to test out our theories and protocols to figure out something that will work.  I have read the manual which was semi helpful because I found that it measures infrared energy radiated based on two factors: the surface temperature of the object and the emissivity of the surface. This camera is not used normally for living things but it should work based on how it detects energy however focusing in on the small birds might be difficult in getting an exact temperature reading. After charging it up we turned it on and are definitely able to detect humans so the next step is to look at some squirrels and then bird of similar size and temperature to the birds we will be looking at.


The other issue I have started to work on is the internet problem at Skalanes. Basically I need to find the point at which a balloon would need to be elevated in order to be in direct line of sight of the ferry station. In order to do this I am going to first find the elevation of Skalanes, The antena at the ferry station and the mountains in between using the information we have, google earth and ArcGIS.

Grooming!

with No Comments

After finishing finalizing the new data model after staring at the iterations we’ve had since 2013,I started making a “master table” this week.It has all the data from all the different iterations,and they aren’t groomed to look the same or follow the same model,but they’re all getting put in one place,so that it’s easy to find all the data we do have once I start grooming it.

This next week,I plan to do exactly that.I plan on putting all the data,in their newly organized format according to our model,into the database,so that  it’s all consistent and in one place.I have a feeling this will be messy and take a while,but I now know what the format is and where the data is,so I’m hopeful of traversing it better.

Building, Bluetooth, and Boards

with 1 Comment

These week I focused primarily on what I need to start actually building the for-field-use soil moisture/temperature sensor platform, as well as selecting a bluetooth shield for communicating with our field science app, and picking a board to actually build the platform on.

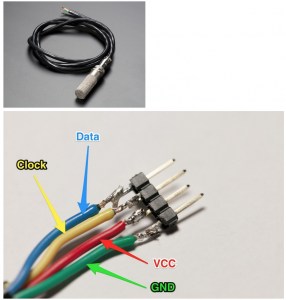
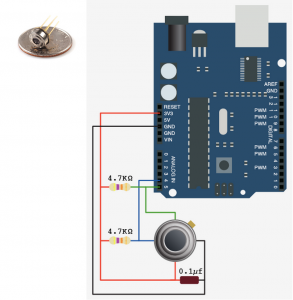
I tracked down circuit schematics for the Infrared temperature sensor. So far I think it will work for our purposes, and at around ~$3 a unit I see no reason not to try it out.

Screen Shot 2015-10-05 at 2.42.31 PM

We already have several moisture (and temp – a useful calibration for the IR measurements) sensing platforms laying around so I will probably cannibalize one of those for it’s sensor. I just need to figure out which one…

Screen Shot 2015-10-05 at 2.43.00 PM

My next order of business is selecting the best bluetooth shield for this project. I’m looking at Bluetooth LE (low energy) because we don’t want it to die in the field. The LightBlue Bean that Kristin found for the Ambiance platform looks promising – it has extra functionality built in that might not be necessary for bench-top applications but could be useful out in the field. Even though the ambiance platform will have a LightBlue Bean sending back temperature and accelerometer data, it might be nice to have this data associated with a sensor value on the ground as well. Also the onboard battery is very nice. I’ve been looking at other shields but I think I need a second set of more knowledgeable eyes to discern which ones might work best for bench applications.

Up until now we have primarily used the Arduino Yun for field sensors because of it’s wifi capabilities, which are handy for in-field debugging. Now that we are moving towards bluetooth, this is no longer necessary. I was thinking about using the Arduino UNO. This seems to be the flagship board from Arduino, and is advertised as being the best for beginners (which I am). I also know we have lots of them around already, which will make it easier to get started right away.

Field Day Application :)

with No Comments

We’ve begun work on the new $FieldScience Android application! This application is yet to be named, but what do people think of the name FieldDay? I think it’s snappy. 🙂 I created a shell in Android Studio and pushed the code to our Gitlab repo. All of the developers have been able to checkout the code locally to their machines. The old application has been archived and made read-only in Gitlab.

The current developers of the application — Nic, Charlie, and myself — met last week to discuss the details of the application. During the meeting we discussed the basic outline of what we want the application to do. There will be ‘skins’ for each sensor, and all of those will interact with a basic communications library that is built to interact with all of the sensors that we have. There are many things that the old application — Seshat — did well and we discussed those and the pieces of code we want to keep — camera option on sensor skins, writing to csv, sending to database. Android applications have very particular states and processes that they go through. Through some research, we have figured out that they way our old application handled those could have been part of the problem with it crashing a lot. There is still more research to be done in that area, because we don’t fully understand it but we are getting closer.

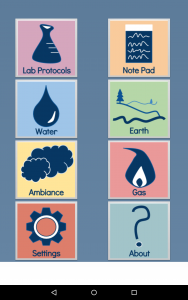
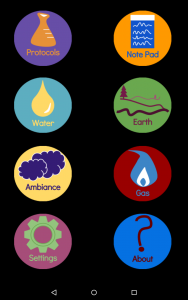
We are not going to focus on the aesthetics of the application right now, but we did decide that we liked the front/main screen of the old app and will keep it. I’ve added that to the new application with a few enhancements. I made the skins circles and made the colors stand out more. You can see the difference and changes below (Seshat is on the left, new application on the right). Prettier, don’t you think? 

Seshat Main ScreenNew App Main Screen


LightBlue Bean for Ambiance <3

with 2 Comments

After our meeting last Monday, we have decided to step away from Yoctopuce devices for any platform, but specifically the ambiance platform. Although, the Yoctopuce devices are nice, and have the ‘plug and play’ option, they are expensive and complex (in terms of debugging) compared to other options.

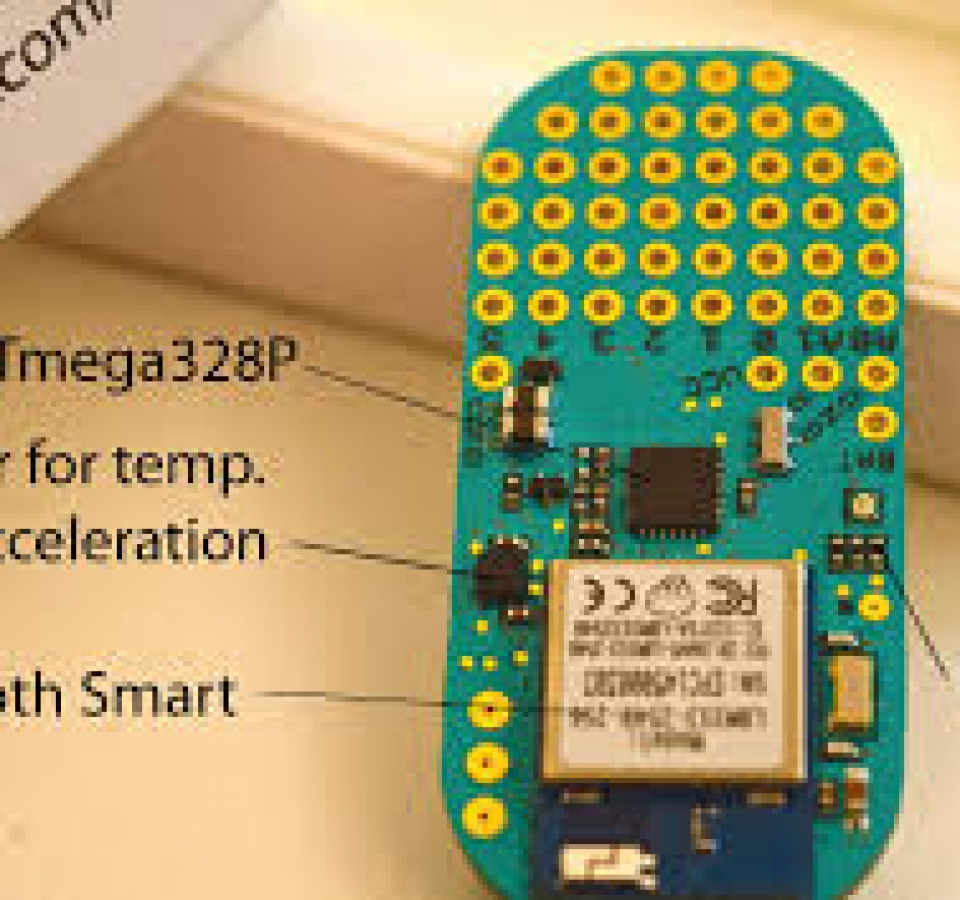
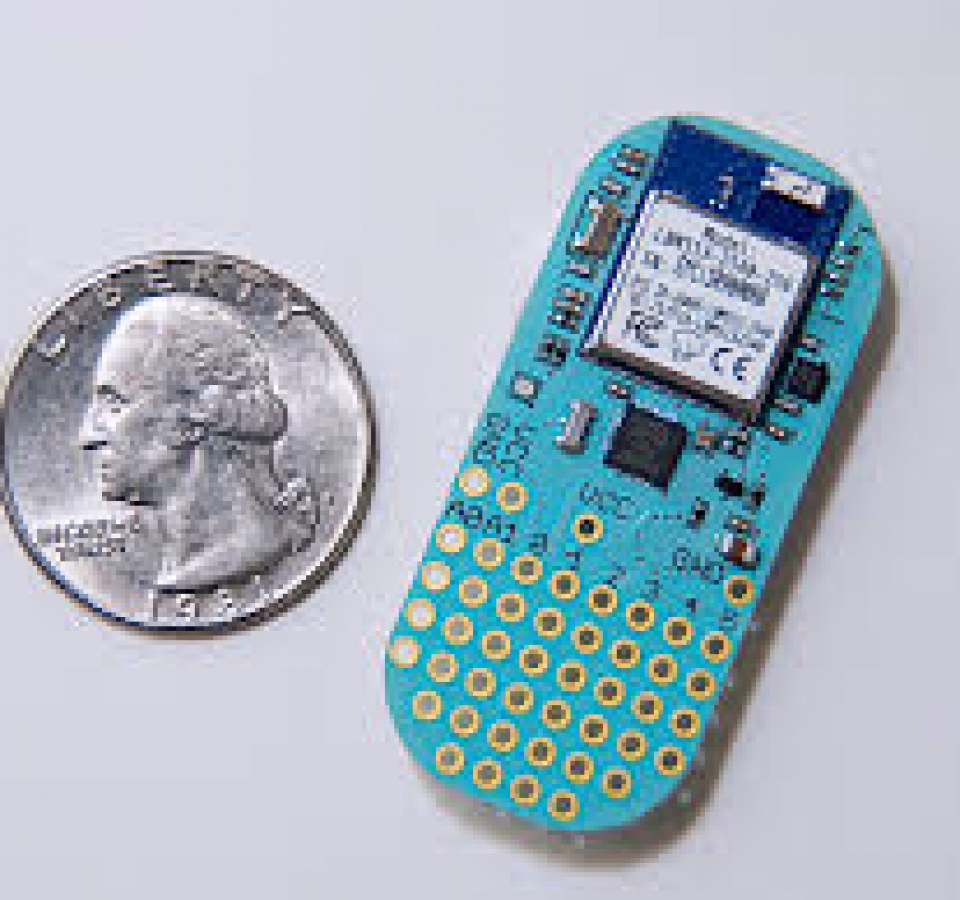
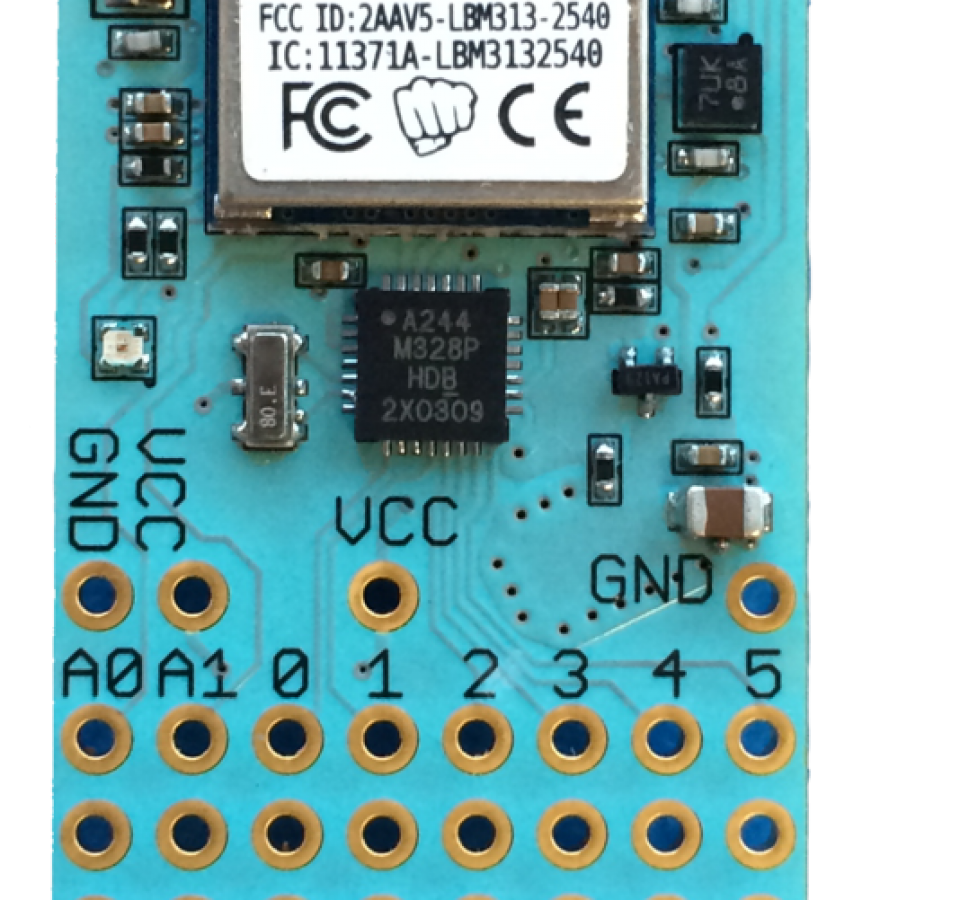
We are moving to Arduino-like design for the Ambiance platform. After some research, I found a device called the LightBlue Bean (see below). The LightBlue Bean is a very small device that is configured entirely through Bluetooth Low Energy. You can even upload code on the go with an Android or IPhone application, which is exactly what we need. The Bean has the same chipset as an Arduino, and even has a built in Temperature sensor. A key characteristic of the LightBlue Bean is the on-board battery. In the past, we’ve struggled with our sensor platforms drawing too much energy from our Nexii. We would have to pack extra charged battery packs, which would take up space in the limited space we have for our day. When you’re climbing a volcano or a glacier, it’s ideal to carry the least amount of weight as possible.

We’ve ordered about 4 of the LightBlue Beans and they should get here sometime this week. Once they arrive, we’ll play with them and attach sensors to see how well they work. Can’t wait to play with them!

1 17 18 19 20 21 22 23